Facing summer, We usually take special care when fixing and preparing our nails to look beautiful and decorated with daring, summery and very colorful designs. If you want to know how to do your step by step decorated nails, what previous steps should we do before Decorate nails, which are the easy nail decorations and see several pictures of decorated nails, this is your article. It is a long but very complete post, so stay and read it.
Before nail decoration
Before doing our nail decoration we must take care of our nails and hands as they deserve. Below we explain how to perform that weekly nail care so that these nails are healthy as well as beautiful.
They may seem absurd to you but follow these simple steps, without skipping a single one and you will see how your nails look beautiful, cared for and conditioned to carry the design or decoration you want:
- The first thing to do before anything else is remove the old enamel well, in case of wearing it. To do this, a cotton ball soaked in nail polish remover is enough, if it is free of acetone, which is the one that damages and dries the most superficial layer of the nail.
- Shape the nails with a cardboard file. Forget about those metal files that the only thing they do is damage your nails. As well as being cheaper, cardboard files are much better for filing.
- Take care of the cuticles. For this we will only need an orange stick, and a special cream or oil for cuticles (this will prevent them from drying out and will make them soft). We will clean under the nails and the edges and push the cuticle back (so the nail will grow faster).
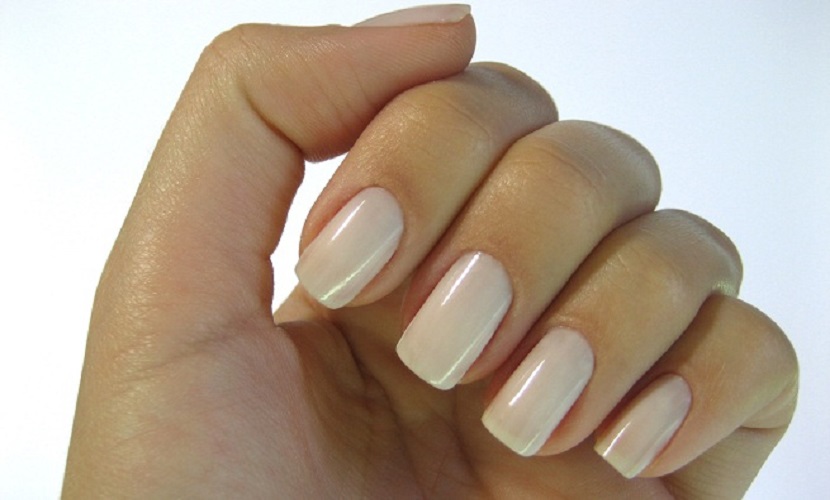
- We will hydrate both hands and nails and apply a protective base that protects the nail before enamelling. Before starting to paint, we must apply a hand cream and then apply a protective base that will prevent our nails from turning yellow and dry.
- We will paint with nail lacquer. Select the color or colors that you like the most and now unleash your imagination. Paint your nails with the desired design.
- We let dry naturally and voila.

False nail decoration?
If you have thought about decorating your nails through false nails, such as gel, acrylic or porcelain nails, we are going to summarize very briefly what are the characteristics of each of its techniques and thus you can decide what type of nail to wear in case do not have your natural nails conditioned for it:
The main difference between making them of one type or another differs in the materials that are used for it. Here are the different types of sculpted nails that you can find today. Although they seem very similar, they are not the same:
- Acrilic nails: It is a hard material and not very flexible so they are much more fragile than others. They are easy to dry and are composed of a liquid called monomer and a powder whose name is polymer. They are easy to fix, since they can be filed easily and have a simpler care than the rest.
- Gel nails: Their material is softer, so they are much more flexible than acrylics. It has a fairly powerful shine so they are much more beautiful and elegant; They are much more natural than the previous ones, since their color is transparent. The only drawback compared to the previous ones is that they dry slowly, and only dry with the help of the ultraviolet booth.
- Porcelain nails: It could be said that it is a mixture of the previous ones, since first a layer of acrylic is placed to later apply the gel.
Gel nails, the most current
Gel nails are the most current since their cost has been reduced considerably over time and they are the easiest to apply. If you opt for this option, we are going to give you the steps for its placement and subsequent decoration.
If you decide to make your own gel nails yourself, these are the steps you must follow for their correct placement:
- Short the ones, file and polish them well its surface with a coarse file and then with a softer one. Remove the dust with a nail brush or washcloth.
- Separate cuticles back using an orange cuticle stick. It is not necessary to cut them if they are well hydrated but if they are unsightly or too thick, cut them with a 'clipper' cuticles.
- Apply the tips o nail lengthening, whatever you prefer to call them, and cut them to the desired size, filing them to give them shape.
- With the brush specific for gel nails, apply one coat fine gel on all your nails, delicately so as not to put gel on any cuticle.
- Put your hands under the Uv lamp for a couple of minutes.
- When you take your nails out of the lamp, they will be sticky, so to remove that layer use a makeup remover wipe or a cotton ball impregnated with a little alcohol. The sticky feeling will go away immediately.
- Then apply a second thin layer of gel on your nails. Put them back under the UV lamp for another two minutes. Keep applying layers of gel and drying until you get the desired thickness (the less thick they are, the more natural they will come out). Smooth the surface of the gel nails using the nail regulator to create an even surface.
- Now comes the fun step, the decorate them- Apply one or two coats of colored gel nail polish and draw the design you want. Let your fly Imagination and creativity and make yourself a beautiful and special design.
- Apply another layer of fine gel polish again and put it under the UV lamp once more.
- To strengthen the enamel so that it does not go away, apply the finishing gel or sealer. If you use the finishing gel you will have to put it back in the lamp for 2 minutes and clean the nail when finished. Once your gel nails have dried, rub in some cuticle oil to soften the nails and hydrate them.
Images of decorated nails and necessary materials
In addition to needing more than one color to be able to correctly decorate your nails, you should know that there are currently countless materials that can help you when decorating them. We leave you with some of them:
- Punches: It is one of the most useful materials and you can find them with the tip in different sizes. The punches will help you draw the details of a multitude of designs such as polka dots, striped decoration, animal drawings, flower designs and others.
- Accessories that stick directly on the nails: You can decorate your nails with studs, with stickers or stickers, with mini-balls that simulate caviar, with velvet, glitter 'glitter', sequins or mini-sparkles. Some of them come with their own glue, but if you want them to set well, put them on when the polish is still fresh and has not completely dried.
- Buffer and plates for decorations: The plates usually come with 4 or more different designs and normally the kit brings you a stamp or sponge to help you stamp the decoration of your nail.
- Adhesive tapes.
- Enamels with glitter.
- Matte or gloss enamels.
Now we are going to show you the images of decorated nails that are most popular this summer 2015, and we explain the proposed designs one by one:
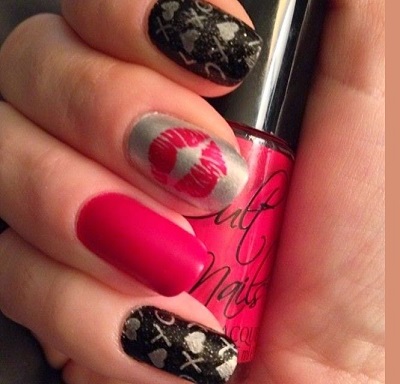
In this first image we see that this year a lot is played with el black and color combination. The trick is to intersperse the elegance and sobriety of black with a more cheerful and summery color like in this case, fuchsia.
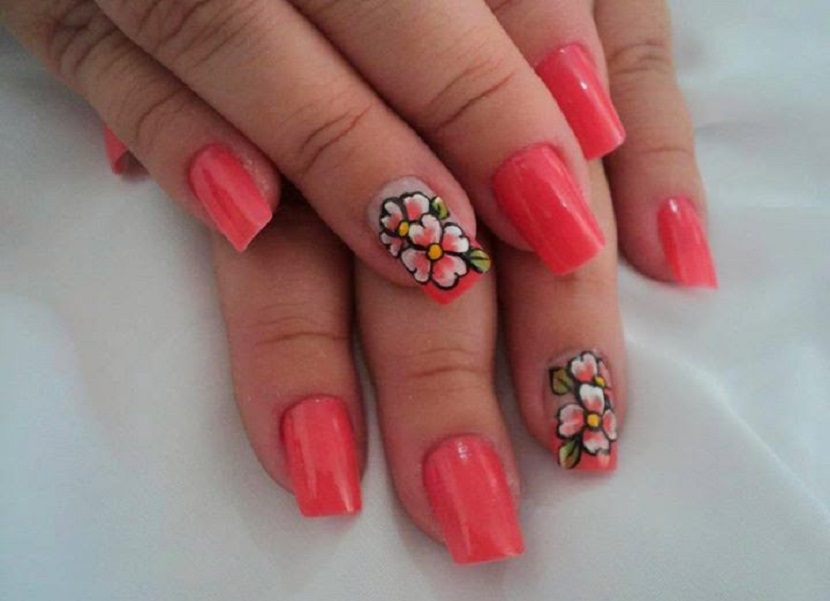
Flowers are still in fashion, and it is that for many years that pass, they always wear this type of decorations. As you can see, it is something that is usually quite normal to see in nail decorations: all nails of a single color, except those of the ring finger that usually have the stamping. To make this type of flourish, in addition to needing several colors, you will also need punches to make the lines of the flowers. Patience and a lot of pulse!
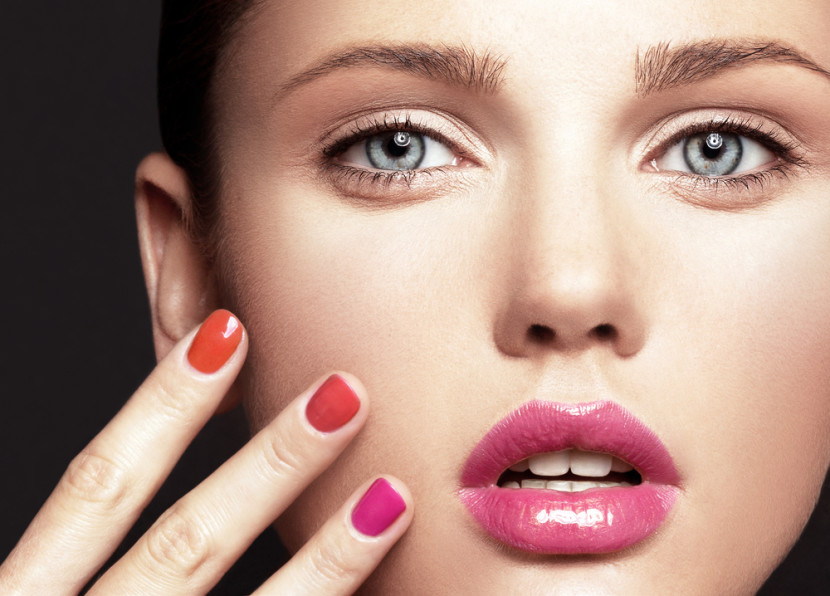
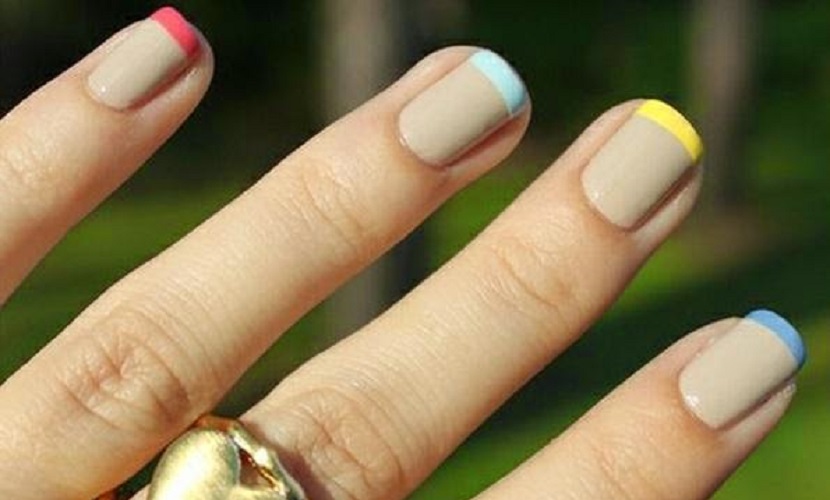
And the next and last photo of decorated nails is the well-known technique as english nails. It is the same technique as the French manicure but much more colorful and fun, ideal for these summer months. What does it consist of? On the base of the entire nail (except the tip) we apply the same neutral color, which can be 'beige', off-white, black or gray and the tips, we paint them in different colors. Pastel tones look especially good, and they are also in fashion this year.
What do you think of these decorated nail designs? Do you like them or do you find them too daring? Whatever your choice, remember that the main thing is that your nails are healthy, hydrated and cared for in addition to being beautiful. Now with the heat they tend to dry out quite a bit, so you should pay special attention to it.