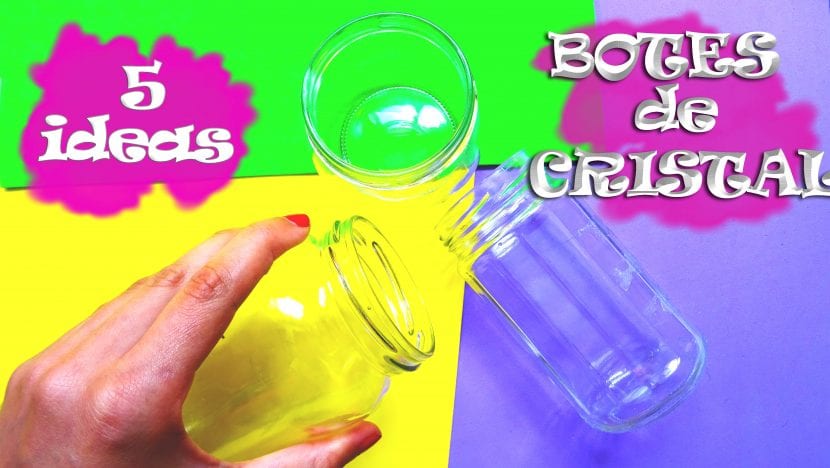
In this tutorial I'm going to show you 5 decorative ideas to reuse glass jars or jars. They are almost all with a retro style that is so fashionable and that will look great in any corner.
Materials
To do the five ideas you will obviously need the Glass jars. There are a lot of shapes and sizes, so you can adapt them to the object you want to create. In addition you will also need the following materials:
- Nail polish
- Container
- Water
- Chopsticks
- Paper napkin
- Decoupage adhesive
- Brush
- Scissors
- Fine-grained sandpaper
- Stained glass painting
- Container
- Two skewer sticks
- Wire
- Rope
- chalk paint
- Gold metallic paint
- Brush
- Jute rope
- Fine-grained sandpaper
- Screwdriver
- Hammer
- Soap dispenser
- Gun silicone
Step by step
In the next video-tutorial I leave you the Step by Step of all ideas. You will see that they are very simple to do, and they look great with very few steps. As I have already told you, they have a touch Retro that you will love, and also some of them are very useful, you will see.
Now that you've seen the Step by Step In video of each of the five ideas, you will have verified the possibilities they have. The false marbling technique can be applied to many surfaces, the soap dish is very Useful and at the same time you can decorate the boat as you like to adapt it to the decoration of your bathroom, and the trick to dye glass jars it will serve you for many jobs.
We are going to review the steps you have to follow in each of the ideas so that you do not forget any of them and you can easily do them yourself.
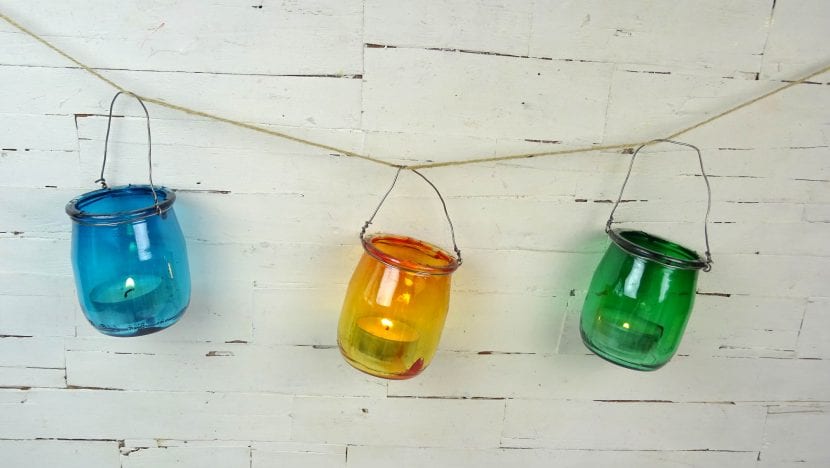
Garland of lanterns
It is a lighting that looks great on terraces y grounds. To do it:
- Paint the inside of the glass jar with stained glass painting, pouring a little paint inside and spreading it around the pot by moving it.
- Leave it alone drain on a container held with two toothpicks so that the paint falls inside.
- When the paint has dried, surround the rim of the pot with a wire and create with it the handle of the lantern.
- Make a few and run them through one rope to be able to hang them on the wall.
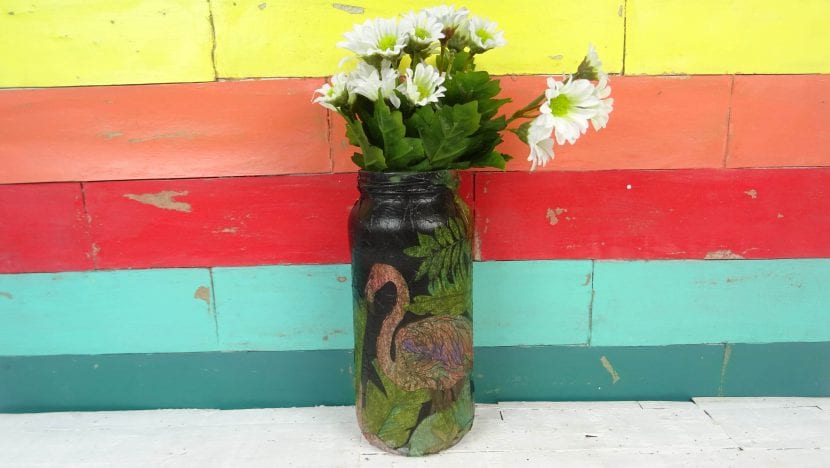
Vase with decoupage
If you know the technique decoupage You will know what it is to paste a special paper for this technique or a napkin on a surface to make it look like it is painted. This time we are going to do it in the glass jar to create a vase.
- Remove the white capes of the napkin, you should only use the layer of the drawing.
- Apply a adhesive for decoupage with the brush all over the pot.
- Glue the napkin into the jar, taking care not to tear it.
- Cut the excess paper off the napkin.
- To remove the rim part of the boat, pass a fine grit sandpaper.
- Apply another coat of decoupage adhesive to seal it.
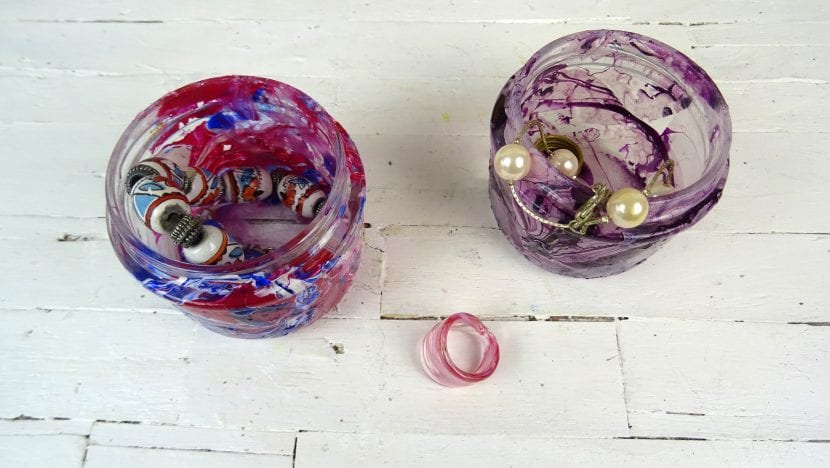
Marble organizers
El marbled effect It looks great and is very easy to do. In addition, when using nail polish, the paint will be well fixed on the glass.
- Cast in a water container a bit of enamel of nails of different shades.
- Stir the colors with a toothpick slowly creating drawings and shapes
- Introduce the outside of the boat in the water, so the enamel will stick to the glass with the design you have created and you will have a marbled effect.
Retro pencils
Paint chalky is very fashionable and creates an effect Retro y vintage on objects, it also adheres well to glass, so in this tutorial it will be perfect.
- Brush the paint around the outside of the pot and let it dry.
- Add more details by painting the edge of the boat with metallic paint in gold tone, or you can also make a jute rope loop.
- Gently swipe a fine grit sandpaper, and this way you will wear down the paint a bit to create the retro effect.

Forest Soap Holder
This idea will make your bath look elegant with that tone golden from the top of the can. It is very useful and afterwards you can even decorate the boat as you like.
- Make a hole to the lid of the jar with the help of a screwdriver and a hammer, large enough to pass the soap dispenser.
- Apply silicone in gun on the edge of the hole.
- Attach the applicator to the lid of the bottle.
- Fill the jar with the soap and put the lid on it.
